
Welcome to Part 2 of the Cloudcraft API series! If you haven’t configured Postman and Cloudcraft yet, check out Part 1.
The goal of this part is to:
- Use Cloudcraft’s API to make a request to update your existing blueprint
- Apply AWS tagging best practices for filtered snapshots
- Embed your live blueprint into Confluence for your change management or documentation workflow
Since we are going to be creating filtered snapshots by tags, first I wanted to provide a quick overview of how you can apply AWS tagging strategies using Cloudcraft. I recommend following AWS Resource Tagging Best Practices.
What is a tag?
A tag is metadata, data about data, for AWS services in key=value format.
Why use tags in your AWS environments?
There are many use cases for using tags, like managing your AWS services, monitoring your monthly spend, separating resources by owner and more. Tagging can help you categorize resources, manage multiple environments and quickly identify the purpose of a resource.
See also:
How you can use Cloudcraft to adopt and manage your AWS tagging strategy
A. Cloudcraft Live scans your AWS resource tags so you can ensure all services are tagged consistently.
- Cloudcraft renders all tags, which can be helpful if you’re unsure which of your resources have tags or if they haven’t been properly tagged.
- To see which resources have tags, you can use your cursor to click on any scanned resource and the tags will appear as blue flags in the bottom left corner.
- For example, the EC2 that I selected has 3 tags:
Owner=Sophie, Application=Webserver, and Environment=Dev

B. Cloudcraft helps implement and monitor a standardized tagging convention.
- You can monitor tagged resources using the Live scan filter layout. When you filter for a specific tag, Cloudcraft will only render the resources with that tag.
- For example, when I filter my live scan for environment=ProjectA. Cloudcraft only renders the resources that have been tagged “environment=ProjectA”
Tip: We like to suggest that everyone who has access to provision resources in AWS is also aware of your organization’s tagging requirements

C. Cloudcraft can identify and fix untagged resources.
- In the filter for a Live scan include a “!” to scan for everything except that tag. For example, I filtered for “!environment=ProjectA”
- The top part of the Live modal is a deep-link that will open a new tab for that resource in your AWS console. You will need to make sure you are signed into the console.
- For example, if I click on “examplebucket00120” that will take me to that S3 bucket in the console. In the console you can add a new tag, change an existing tag or delete a tag. Cloudcraft asynchronously updates rendered components as you click them, so navigating back to your blueprint and selecting the S3 bucket will update the component with the latest tags.

Now that we have a guideline for some tagging strategies, let’s continue from where we ended in Part 1.
1. Using the same Snapshot AWS Account endpoint https://api.cloudcraft.co/aws/account/ACCOUNT_ID/REGION/FORMAT. Now instead of having the format as PNG, change the format to json.
Tip: Make sure that json is written in lowercase.

This output has provided all the AWS resources in us-west-2 (Oregon) in JSON format.
2. Let’s add a tag to filter our blueprint in Postman. I added environment=ProjectA. Copy the JSON response.

3. The next endpoint we will use is Update Blueprint https://api.cloudcraft.co/blueprint/ID. This endpoint will update an existing blueprint in Cloudcraft by UUID. The body of the request will contain the updated blueprint document in JSON format.
Click on Body and paste the copied JSON. Do not click Send yet.

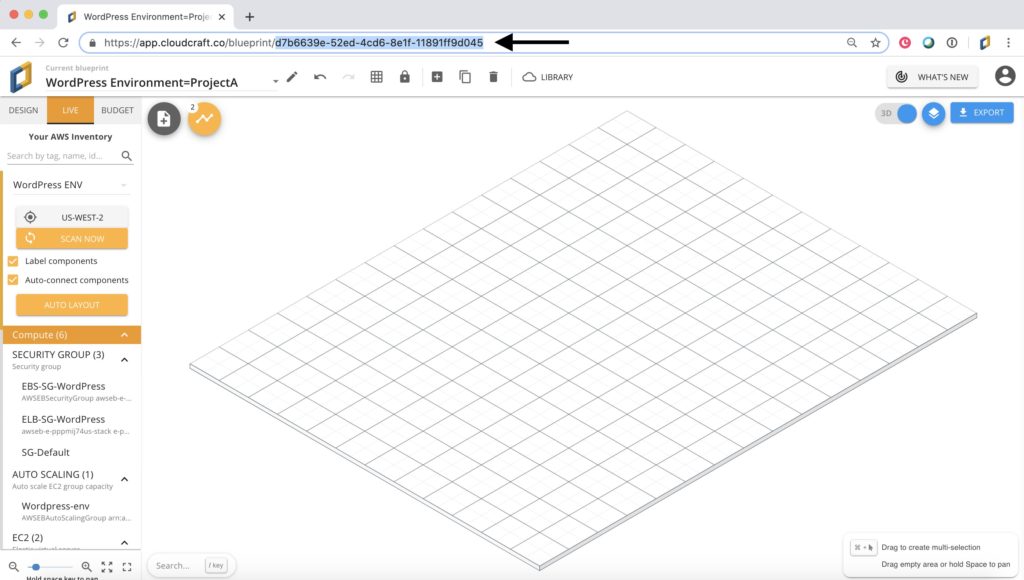
4. Open up Cloudcraft.co in your browser and either create a new Blueprint or use an existing Blueprint. If you use an existing Blueprint, the diagram will be replaced. Copy the Blueprint ID found in the URL.
5. Navigate back to Postman
- Paste the Blueprint ID into the ID field of the Update Blueprint endpoint
- You can change the name of your blueprint beside “ name: ” in the JSON body. The name will update the title of your blueprint in Cloudcraft.
- For example, I changed my name to “WordPress environment=ProjectA”
- Now click send

Congratulations! We have created an integration between Postman and Cloudcraft to always keep this architecture diagram up-to-date.
Want to check? Go back to Cloudcraft and refresh your browser on the same Blueprint.
Embedding your up-to-date Blueprint into Confluence
The next steps will provide instructions for embedding your live blueprint into Confluence with the iframe macro. Many people use Confluence pages for documentation of infrastructure and as part of a workflow.
6. In Cloudcraft, click Export and select Shareable link. Make sure you check off the Embed into Confluence, dashboard or wiki option. Then copy the link to your clipboard.

7. In a new browser tab, open and sign into Confluence. You can either create a new Confluence page or add the diagram to an existing page. I created a new page. Click on “View More.”
Tip: Anyone who has access to your Confluence page that you are embedding your diagram in will be able to see the diagram.

8. Search for iframe and select the iframe macro.

9. Once you have selected iFrame, you can paste the shareable link copied from Cloudcraft into the URL field. There is a couple of customization options for your iFrame:
- Height and Width (pixels)
- You can adjust the width and height of your diagram as you see fit.
- Align (left or right)
- This will align your diagram either to the left or the right of the page. The default setting is left.
- Frameborder (show or hide)
- The border is a black frame around the perimeter of your diagram. The default is set to show.
- Scrolling (yes, no or auto)
- This is allow scrolling over your diagram. This can be helpful with larger architectures. The default is for the diagram to auto scroll.
Note: According to Confluence Support page, “The remaining attributes (ID, class, styles, title, long description, margin height, margin width, name, text direction, and language code) are being deprecated. Changing the values of these attributes won’t affect how content in the iFrame macro appears.” You can read more about the iFrame macro here: Using the iFrame Macro.
Tip: Click Preview to see how your diagram would look on your page.

Now we have configured Cloudcraft’s Developer API to generate and have updated snapshots in Cloudcraft. The Live shareable link that we embedded using the iFrame macro will automatically update the diagram in Confluence.

What’s next?
Part 3 will explain how to invoke an AWS Lambda function for programmatic and automatic snapshots using NodeJS native.